Arena Construction
Constructing an exercise arena for your horse is a big building job and although it can be done with simple construction skills, I wouldn’t recommend it unless you really know what you’re doing. This is because the biggest cost is the raw materials and if you get it wrong you can end up wasting all that money and either having to do it again, or get a professional in anyway. My husband is very handy and loves DIY and minor building tasks, but after researching what was needed to build an manege, costing the machines he’d need to hire and looking at the potential to get it wrong, he decided we should employ someone instead! Whichever way you decide to go, it’s important to know how an arena is generally constructed, so here are the basics…
Preparation
Arenas come in all shapes and sizes and you can have one built to fit the space you have. Generally, 20m x 40m is a standard size as this is the size of a novice dressage arena, but if you have the money and the space it’s useful to have a bigger one for advanced dressage or to adequately put up a course of jumps.
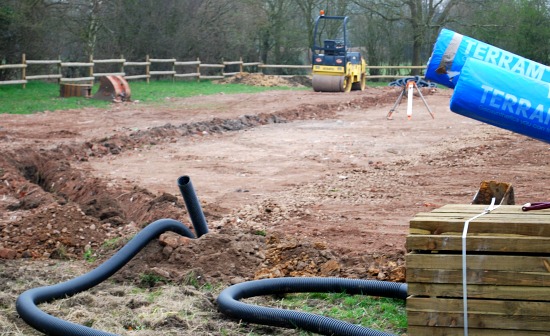
Next the arena size is marked out and prepared for the base layer. It’s normal to excavate the area in order to make the arena around ground level when it’s finished, but you can also build up with top soil and rubble if the area you want to build on is prone to standing water or flooding. Levelling may also need to take place if your ground isn’t exactly flat.
Layers
The biggest thing that people get wrong with arenas is not properly installing drainage. You want to have the best drainage you can so that you can ride whatever the weather. A properly installed arena should never flood! The drainage level is the first of the layers to be installed so you need to think about where the water will run to. Once you have prepared a level area, it’s normal to add drainage channels. The base layer sits on top of these and sometimes on top of a membrane which separates the ground from the drainage layer. Gravel or an alternate drainage standard hardcore is normally used to a decent depth allowing drainage across the whole surface area. Perforated drainage pipes are sometimes installed in this layer too. This all needs to be flattened and levelled with a heavy roller.
The next layer is the membrane which stops your riding surface from being washed into the drainage base. This is laid across the whole area and also a little way up the side of your fencing.
The final layer is the riding surface and there are lots of options including wood fibre, sand and rubber. You can read more about the pros and cons of each surface here: Choosing The Right Arena Surface
Finishing Touches
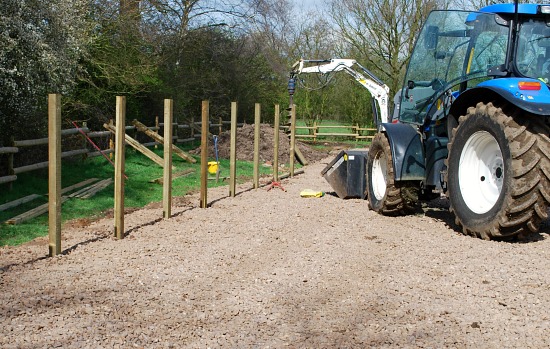
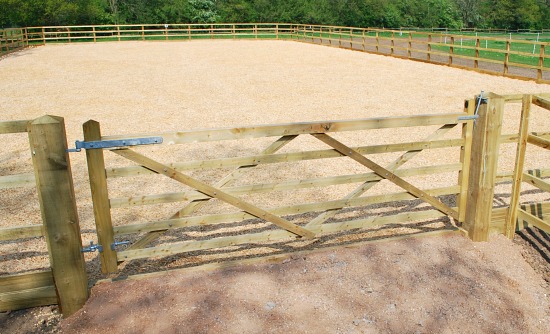
Most arenas are surrounded by a strong, tall post and rail fence. This is normally installed after the draining base, but before the membrane and riding surface. At the bottom of the fence there will be barge boards to hold in your riding surface. Think about where to have the gate and whether to have two so you can ride through the area if you wish. Fence posts should be concreted in place for durability.
Tips
1. If you’re employing someone, get several quotes for the work as prices can vary dramatically. The standard of materials used will be a big factor in the price, so make sure you get in writing what materials are being used and what work is being done. For instance, some builders won’t concrete the posts unless you specifically ask them. Ask what depth the layers will be too.
2. If you’re doing it yourself to save money, make sure you still use good materials or your arena may be no better than a grass field! Also don’t forget to factor in the costs of hiring machines – you’ll need a digger and roller as a minimum.
3. Make sure you think ahead for the delivery of the layers. Generally this will come on large trucks which will need easy access to the site and the ability to turn. If you don’t have the space, there will be additional costs in moving the layers from the nearest place the delivery truck can get to. Usually this is done with a dumper truck and lots of hours going backwards and forwards!


