Laying Rubber Matting
Rubber matting in stables is a great addition for making your horse more comfortable and also for saving some money on shavings as much fewer are needed. Good standard matting is quite expensive though and an average stable can cost £250 to £300 to fit out. We bought off ebay, but there are lots of other suppliers online to choose from. Personally, I wouldn’t have anything thinner than 18mm. I don’t think the design on the top matters too much, but grooves underneath do help the wee to drain away.
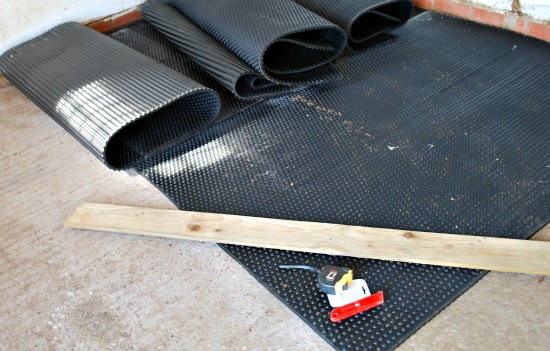
Here’s how we laid the rubber matting in our stables. You will need a sharp Stanley knife (or equivalent), a straight piece of wood that doesn’t bend and a tape measure.
HOW TO LAY RUBBER MATTING
First, you’ll need to work out how many rubber matting sheets will fit in the stable without cutting them. The bigger they are, the less likely they are to move once you’ve installed them. For this reason, I aim to fit out the stable with the smallest number of large sheets that I can. For example, in this stable I could have used an extra full sheet, but the gap left over would have been quite small and any matting I put in it would have been more likely to move.
Start by laying one full size sheet in one corner and then move outwards. I tend to start with the corner diagonally opposite the door, so that I finish at the door. Although full-size matting sheets are heavy, it’s worth experimenting by moving them around a bit to see how they will fit best. Do this before you cut any sheets!
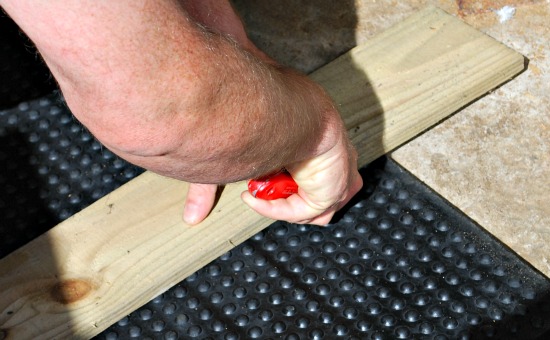
When you’re ready to cut a sheet, you’ll need to measure the distance from the edge of the mat already laid up to the edge of the stable. Take a few measurements along the edge to see if the distance varies at all. I usually do one at each end and then cut the mat based on those. You’ll need to make sure you lay the factory cut straight edges next to each other and the cuts you’ve made should go along the wall of the stable where it will be less-obvious if it isn’t 100% straight. Visualise how each matt is going to fit before marking the measurements and cutting. This will help you to cut it correctly. Also err on the side of caution a bit with measuring – it’s better to be too big than too small so you can correct it if you need to.
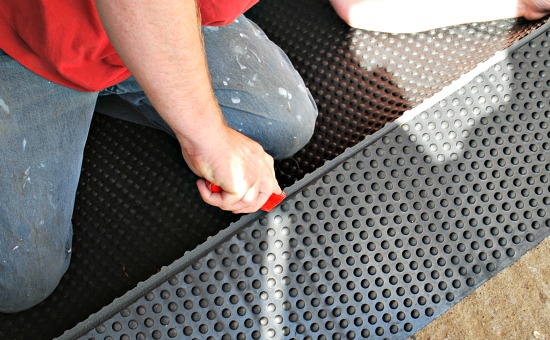
Cutting is done by laying a straight piece of wood from one measurement to the other. Kneel on it and cut along it with the knife. Be careful! Stanley knives are VERY sharp. Always cut away from yourself. You don’t need to cut all the way through the rubber first time, just make the cut as deep as you can. When you’ve made the initial cut, you can usually bend the matting along the cut and then retrace the groove with the knife and it will cut through.
When laying the mats, make sure you kick them with your heels to get them as close as possible to the wall and the other mats. Even a small overlap of a millimetre or two can usually be kicked into place.
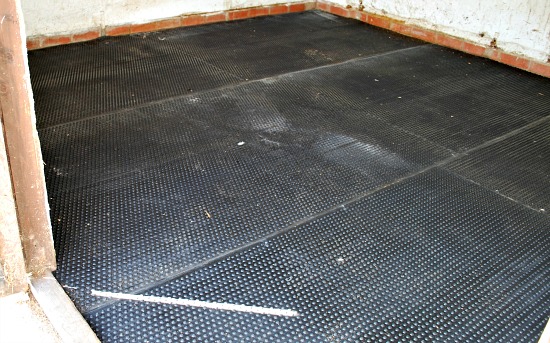
If you go wrong, don’t worry. You can still put the two halves back together and in a tightly fitted stable, you’ll hardly notice.

